
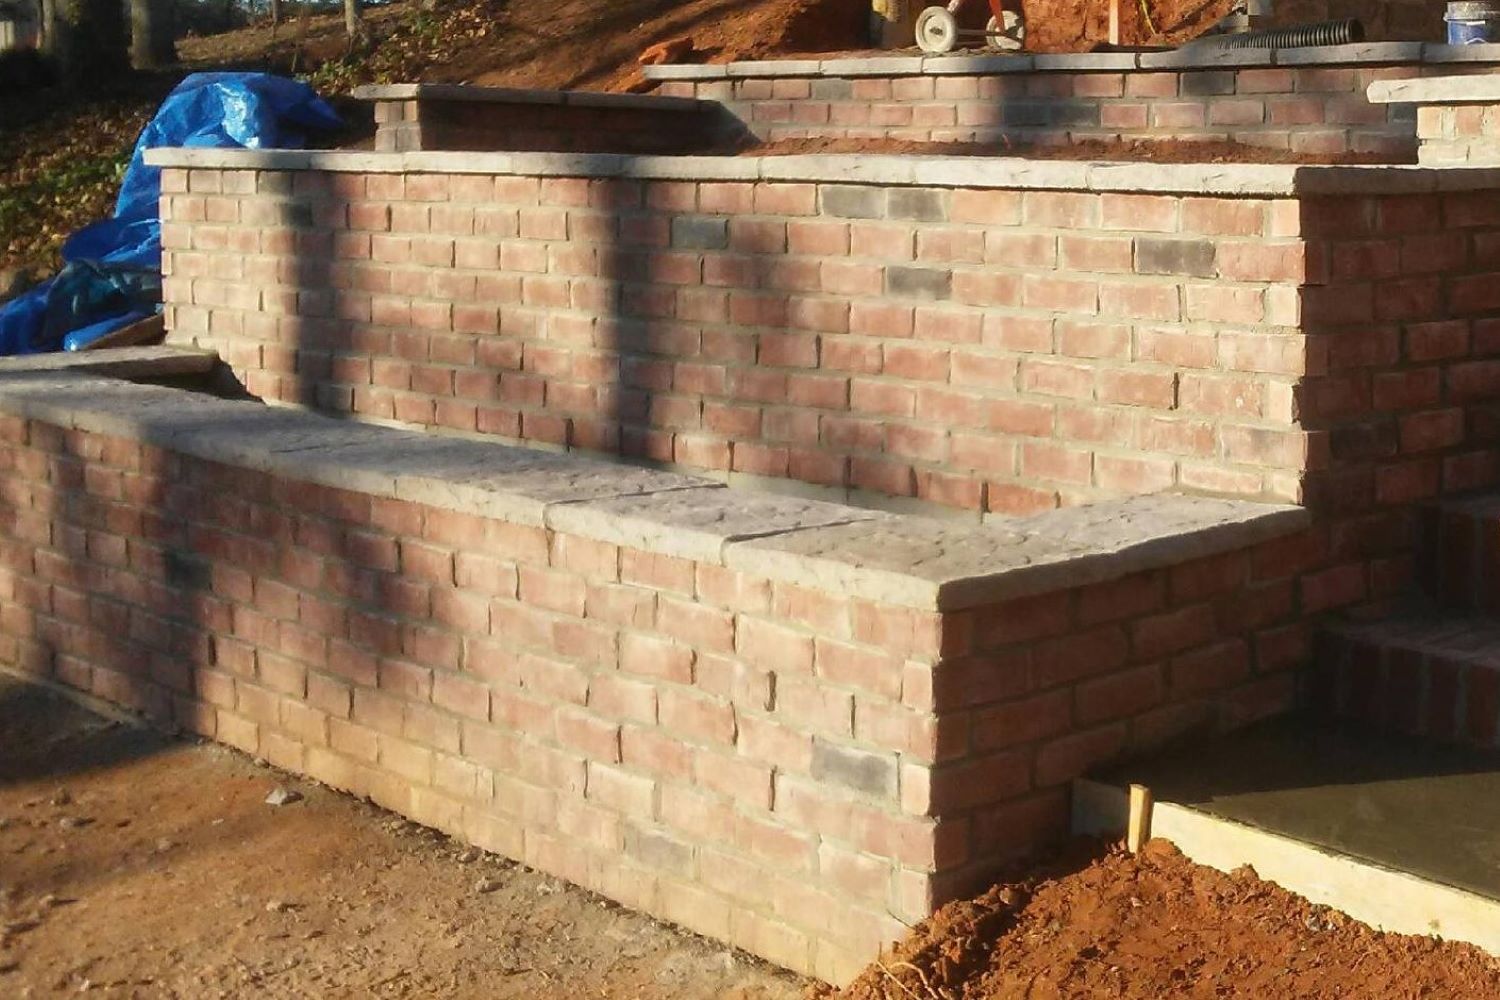
Building a black bear masonry wall requires careful planning, precise execution, and an understanding of the materials and techniques involved. These walls not only serve as a deterrent to black bears but also enhance the aesthetic and functional aspects of your property. Here’s a detailed guide on how to construct a Black Bear Masonry wall effectively.
1. Planning and Preparation
Before starting the construction, it’s essential to plan the layout and design of your Black Bear Masonry wall. Measure the area where you want to build the wall and calculate the amount of materials needed, including stones or bricks, mortar, and any additional features like coping stones.
2. Gather Materials and Tools
Collect all necessary materials and tools. For a black bear masonry wall, you’ll typically need:
- Stones or bricks
- Mortar mix
- Level
- Trowels
- Mason’s hammer
- Safety gear (gloves, goggles)
- Wheelbarrow (for mixing mortar)
- Water supply
Ensure all materials are of good quality and suitable for the task at hand.
3. Foundation Preparation
Prepare a solid foundation for your masonry wall. Dig a trench along the planned route of the wall, ensuring it’s deep enough to provide stability. Fill the trench with gravel or crushed stone and tamp it down to create a solid base.
4. Laying the Stones
Begin laying stones or bricks at one end of the trench. Apply mortar to the bottom and sides of each stone and place it firmly into position. Use a level to ensure each stone is straight and even. Alternate the placement of stones to create a sturdy structure, interlocking them for added stability.
5. Mortar Application
Mix mortar according to the manufacturer’s instructions in a wheelbarrow or mixing tray. Apply mortar between the stones or bricks using a trowel, ensuring the joints are filled completely. Remove any excess mortar to maintain a neat appearance.
6. Building Height
Continue laying stones or bricks row by row until the wall reaches the desired height. Check the level frequently to ensure the wall remains straight and even. Allow each row to set before starting the next to prevent shifting.
7. Adding Coping Stones
Once the main structure of the wall is complete, add coping stones to the top. Coping stones provide a finished look and protect the wall from water damage. Apply mortar to the top of the wall and place coping stones carefully, ensuring they are level and secure.
8. Finishing Touches
After completing the wall, allow the mortar to cure for the recommended time. Clean the surface of the wall with a brush to remove any excess mortar or debris. Optionally, you can apply a sealant to protect the masonry from weather damage.